
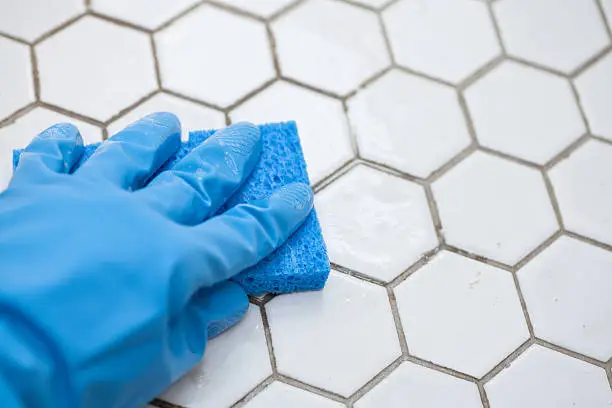
Grout is a mixture that helps to protect the tiles and walls from dirt and water penetration. But what you may not know is that the grout itself can be dirty. It may seem minor, but dirty grout can cause a host of problems, including structural problems, bad odors, and staining. So, the next time you notice that the lines between your tiles are dirty, be sure not to ignore them.
Continue reading our article to learn more about how to clean grout.
Why Does Grout Get Dirty?
Grout Is Naturally Porous
Grout is basically a hard sponge with small open pores that absorb liquids, oils, debris, and residues. Grout, by its very makeup, is naturally absorbent and not repellent to these materials. So, the trapped substances, because of day-to-day use, build up, and they become dirty.
High-Traffic Areas Collect More Dirt
Tiles and walls in high-traffic areas, such as the hallway, bathroom, or kitchen, tend to get dirty faster. This is understandable; as you can imagine, every single step grinds microscopic dust, outdoor grit, and natural body oils from your feet or socks deeper into the grout lines. Over time, they’ll accumulate and get trapped deep inside.
Moisture Can Lead to Mold and Mildew
Bathrooms and kitchens are also two places in the house that have the most moisture. Activities such as showering and cooking can create tiny droplets that’ll eventually land and stick to the grout lines. When that moisture gets stuck, it can create an ideal spot for mold and mildew to grow.
What Supplies Do You Need to Clean Grout?
Grout Cleaning Brushes
Dirt that is stuck inside the grout will not go away with standard sweeping or dry-mopping. This is because you’ll need cleaning tools that can reach into the tiny pores. This is where grout cleaning brushes come in. There are a variety of options to choose from, such as a stiff-bristle brush, an electric grout scrubber, and, if you want a more DIY and budget-friendly tool, a good ol toothbrush.
Grout Cleaning Solutions
The go-to partner of a grout cleaning brush is grout cleaning solutions. They work hand in hand to effectively remove dirt and grime from the grout. These cleaning solutions often contain chemicals that can effectively penetrate and lift the substance, making cleaning easier.
Household Cleaning Supplies
For all of you DIYers out there, regular household cleaning supplies can also work wonders. For example, baking soda and hydrogen peroxide are effective in safely removing stains, while white vinegar cuts through hard water deposits and light mildew, and a microfiber cloth is essential in wiping off the lifted grime and ensuring it doesn’t return into the pores.
Optional Tools for Tough Jobs
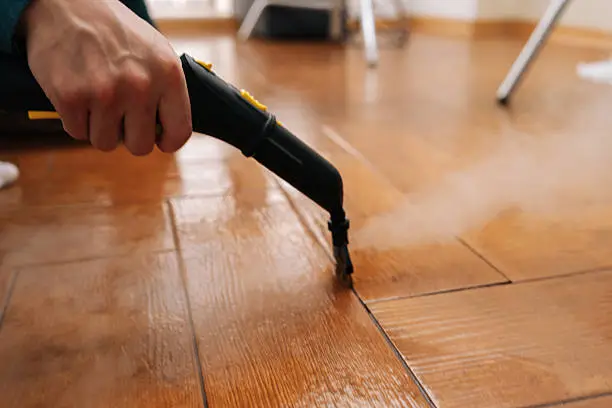
For tougher jobs such as those with years of deep stains and stubborn microbial growth, you would need upgraded cleaning tools such as a handheld steam cleaner. They’re effective in melting away grime, all chemical-free. Another helpful tool to consider is a dry vacuum cleaner to cover large floor spaces and instantly suck up dirty wastewater before it gets absorbed by the porous grout.
Step-by-Step: How to Clean Grout
Step 1: Vacuum or Sweep the Area
First things first. You want to make sure the floor is free of loose debris and dirt by vacuuming or sweeping the area of operation. Ignoring this step can cause dry particles to turn into mud the moment a cleaning liquid touches the floor and get pushed deeper into the pores.
Step 2: Apply a Grout Cleaner
After you have cleared the floor of loose debris, spray or squirt (depending on the product you select) the grout cleaner directly onto the grout lines. Allow the solution to sit for a few minutes (5 to 15 minutes or as directed on the product). This is to ensure the formula is absorbed deep enough into the pores to work its magic.
Step 3: Scrub the Grout Lines
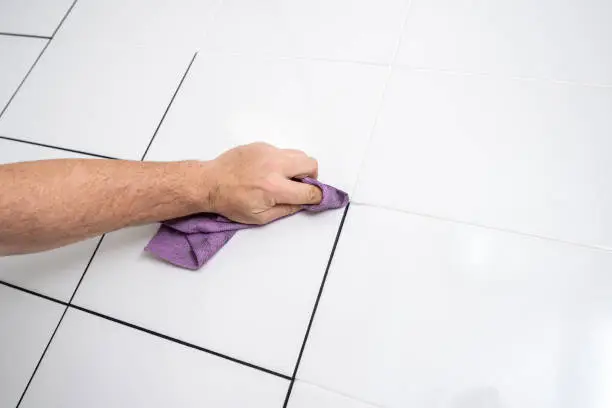
Use a cleaning brush and scrub the grout lines with a steady, controlled pressure, but not so much that you can grind away the cement. Once you get the right pressure, test a small area and then work on the other areas. Brush back and forth to dislodge dirt from the trenches.
Step 4: Rinse Thoroughly
Immediately wipe off the dirty liquid slurry with a clean, moist microfiber cloth. Do the same step, but this time refresh the cloth by rinsing it with clean water. If you’re in a large area, use a wet-dry vacuum or mop.
Step 5: Dry the Surface
Drying the floor completely ensures that no moisture remains and prevents it from sinking back into the pores. Continue drying the area by wiping it using a microfiber cloth, or better yet, turn on the room exhaust fan to help eliminate residual moisture.
How to Keep Grout Clean Longer
Clean Spills Quickly
The best way to maintain grout cleanliness is to act immediately after impact. For example, if there are spills, wipe them up immediately. The longer you wait, the higher the chance it’ll give the porous material time to act like a sponge.
Sweep and Mop Regularly
For the best results, start sweeping and mopping the floors on a regular basis. This will ensure that any liquid or moisture that has dropped on the floor is quickly and effectively removed. Also, remember to use clean mops and water. Using sloppy mops and murky water will result in more problems than solutions.
Improve Ventilation
One of the most overlooked grout cleaning tips is to use your house’s ventilation system to help control moisture. For example, turn on the exhaust fans during and after a hot shower to reduce moisture buildup, or use a kitchen fan to circulate the air. Remember that keeping the room dry helps to control moisture levels and prevents mold and mildew growth.
Consider Applying Grout Sealer
You might want to apply a grout sealer for an extra layer of protection. This will prevent water, oil, and dirt from entering. Depending on your home’s environment, you will want to reapply the sealant every 1 to 3 years to keep that protective coat intact.
Now that you know a little bit more about grout, look around your house and see if you can find any dirty grout. If you can, start cleaning asap. Find Grout Cleaning Supplies at Johnson’s Ace Hardware.
Recent Comments