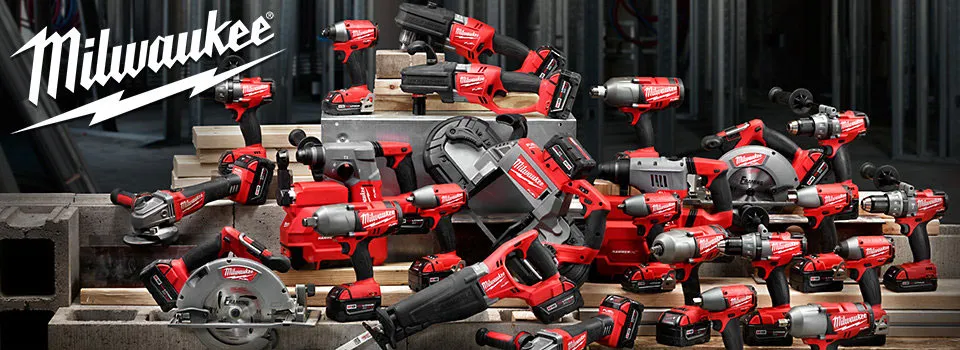
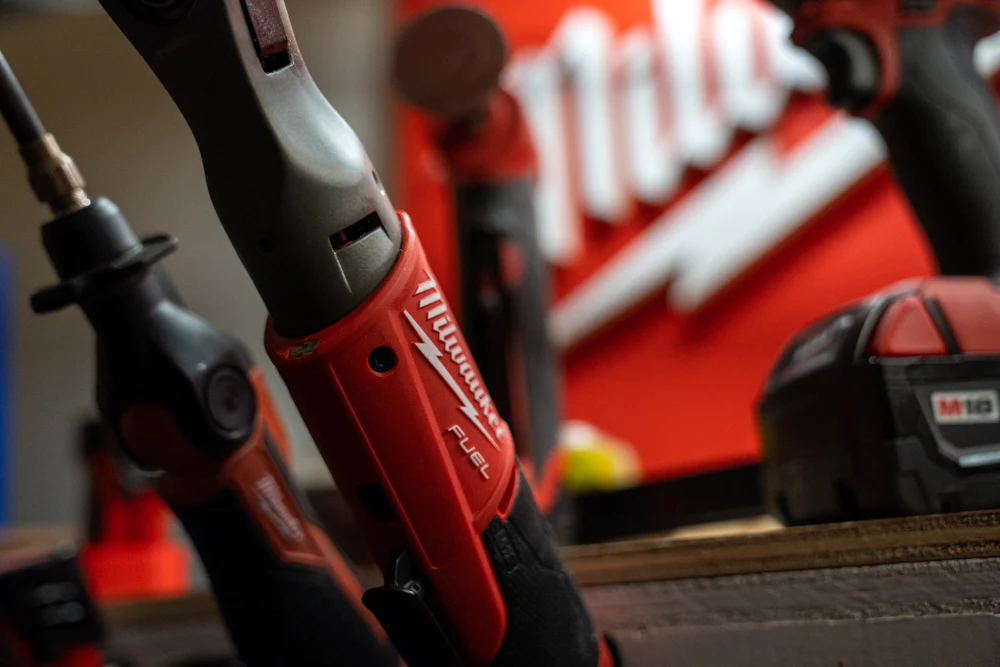
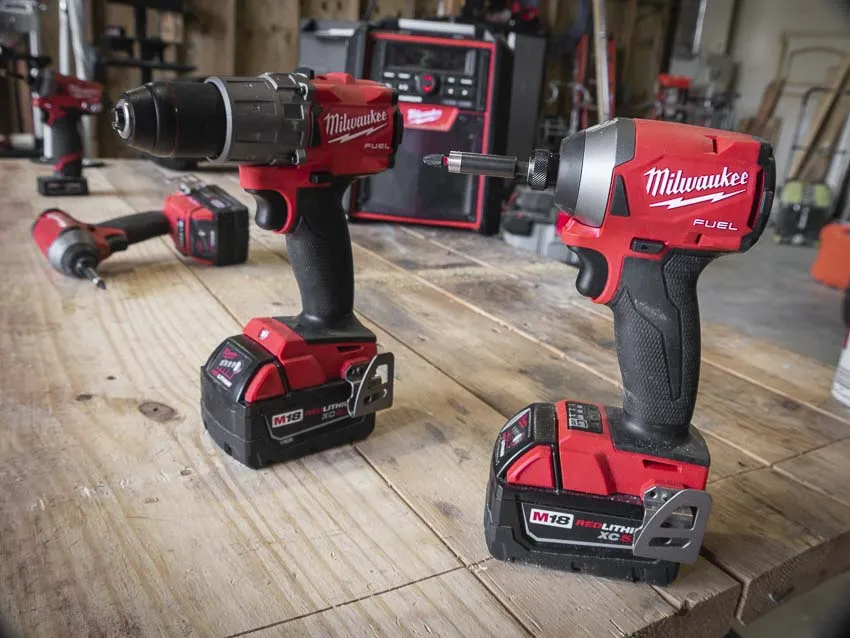
Milwaukee power tools are known for their durability and top-notch quality, catering to both professionals and DIY enthusiasts. From saws and drills to grinders and sanders, they offer a comprehensive range of tools. If you’re on the lookout for reliable, long-lasting tools, Milwaukee has you covered. And, if you’ve already got your hands on one, take a peek at our blog for some practical tips on how to clean Milwaukee power tools so they remain in good condition for the long haul!
Why Cleaning Milwaukee Power Tools Matters
Maintaining your Milwaukee power tools is as important as keeping any other tools in top shape. These power tools are designed for cutting, drilling, and tackling various tasks that often result in debris and dust. Regular cleaning ensures longevity, peak performance, and overall efficiency. Accumulated debris can hinder the components, affecting their optimal function. Cleaning your Milwaukee power tools also helps prevent rusting and corrosion, promoting their safe use.

Keeping your power tools clear of any obstructions, both inside and out, is a simple yet crucial step to make sure they work at their best.
Essential Cleaning Tools And Materials
Having the right tools and materials is just as important as regularly cleaning your Milwaukee power tools. Some components of these tools are delicate, and using harsh chemicals can do more harm than good, potentially damaging the tool.
Here’s a list of cleaning tools and materials that are useful to clean Milwaukee power tools effectively:
- Clean Cloth
- Soft bristle brush
- Gloves
- Compressed air/air comp
- Diluted bleach solution
- Mild soap
- Water
- Lubricant
Remember, avoid cleaners with conductive or corrosive materials, such as those containing ammonia. For easy access and cleanliness, consider organizing these tools in a dedicated container for your Milwaukee power tool cleaning kit.
How To Clean Milwaukee Power Tools
So, how do you clean Milwaukee power tools? Here’s a step-by-step instructions:

Step 1: Safety precautions
First things first, safety is key. Unplug cords and remove batteries to ensure a safe cleaning environment. Make sure your workspace is dry, avoiding any potential hazards.
Step 2: Dust and debris removal
Start by removing dust and dirt by using a brush. Take the time to remove detachable components for a thorough cleaning, and use a vacuum so that you can clean it up to the trickiest spot.
Step 3: Cleaning the exterior
Grab a clean cloth and dampen it using a mild soap and water mixture. Wipe down the exterior parts and focus on areas like the body and handles to remove grease and grime.
Step 4: Lubricating moving parts
Keep things moving smoothly by applying a small amount of lubricant to the moving parts. This not only ensures efficiency but also prevents rust. Remember to wear gloves for safety when handling sharp components.
Step 5: Storing tools properly
Our last step on how to clean Milwaukee power tools is to store your tools properly. After wiping away any remaining moisture, let your tools air-dry for about 30 minutes before storing them.
Once your Milwaukee power tool is clean, store it in a dry and cool place. Proper storage prevents rust and corrosion.
Regular cleaning and maintenance will contribute to the longevity and optimal performance of your Milwaukee power tools. Always refer to the manufacturer’s guidelines for specific cleaning recommendations for your tools.
Cleaning Tips for Specific Milwaukee Power Tools
Now, let’s delve into cleaning specific Milwaukee Power Tools commonly found around the house.

Cleaning drills and drivers
Start by removing the bit and clearing out debris from the chuck area. Then, use a small brush or a blast of compressed air that’ll help with dust in the vents. Finish it off by wiping the body with a damp cloth using mild soap.
Cleaning saws
Remember to use gloves when dealing with saws. Remove the blade, clean metal shavings with a damp cloth, and tidy up the motor vents and blade mechanism with a vacuum. For the exterior, a wipe-down with a damp cloth does the trick.
Cleaning grinders
Remove the grinding wheel, brush away dust and residue, and ensure the vents are clean using a brush or compressed air. Wipe the housing and handle with a damp cloth for that final touch.
Cleaning sanders
Unplug the sander or remove the battery if it’s cordless. Take off the sandpaper disc and use compressed air to blow out dust from the vents. A brush helps clear debris from the sanding pad. Finally, a damp cloth with mild soap and water is perfect for wiping down the exterior. Simple steps for a clean set of tools!
End Note
Keeping your Milwaukee power tools clean is more than just a chore – it’s a key player in ensuring they stay in top-notch condition. But here’s the catch: cleaning them incorrectly can do more harm than good. By following our tips in this article and the manufacturer’s manual, you’ve got a winning formula for effective, safe cleaning that boosts your tools’ longevity and keeps them performing at their best!


Recent Comments