Thanks to many options for materials and guides on how-to these days, you can say goodbye to hiring contractors for your patio and build it DIY style instead. Not only does it save you a lot of money on labor, but it can also be a passion project for you and the whole family. Now, before you roll up your sleeve, your homework is to enrich yourselves with DIY patio ideas and materials available to build a solid plan.
Continue reading as we’ll share a step-by-step guide on how to build a patio, along with essential tips for successful patio building.
Step 1: Choose the Right DIY Patio Design
Consider Your Space & Purpose
The first step is to look at your space and envision how you want it to be. Will it be an outdoor dining area for family and friends, a cozy morning coffee spot, or an entertaining space? Then, plot which area is best for the gathering area, where to put a fire pit, if any, which area gets the best natural light for your planters, and many more.
Also, consider the size and shape of your patio so you can make the best out of your space. A larger one is ideal for multiple zones for different activities, while a small, more compact patio can be made more functional without being cramped by incorporating smart layouts and built-in seating. When it comes to shape—be it circular, square, or even freeform—try to work around the curves and angles rather than forcing rigid shapes so they feel seamless and organic.
Planning ahead is a key part of learning how to build a patio that fits both your lifestyle and space.
DIY Patio Ideas
After the plotting is done, it is now time to consider one of these DIY patio ideas that best complement your space:
Gravel Patio: If you’re after a budget-friendly and easy-to-install option, a gravel patio is your friend. While giving a charming, casual look, it only requires pouring those gravels on the ground (with some preparations, of course) in labor and acting as excellent drainage. However, it can be challenging to walk on, so it’s best to pair them with stepping stones.
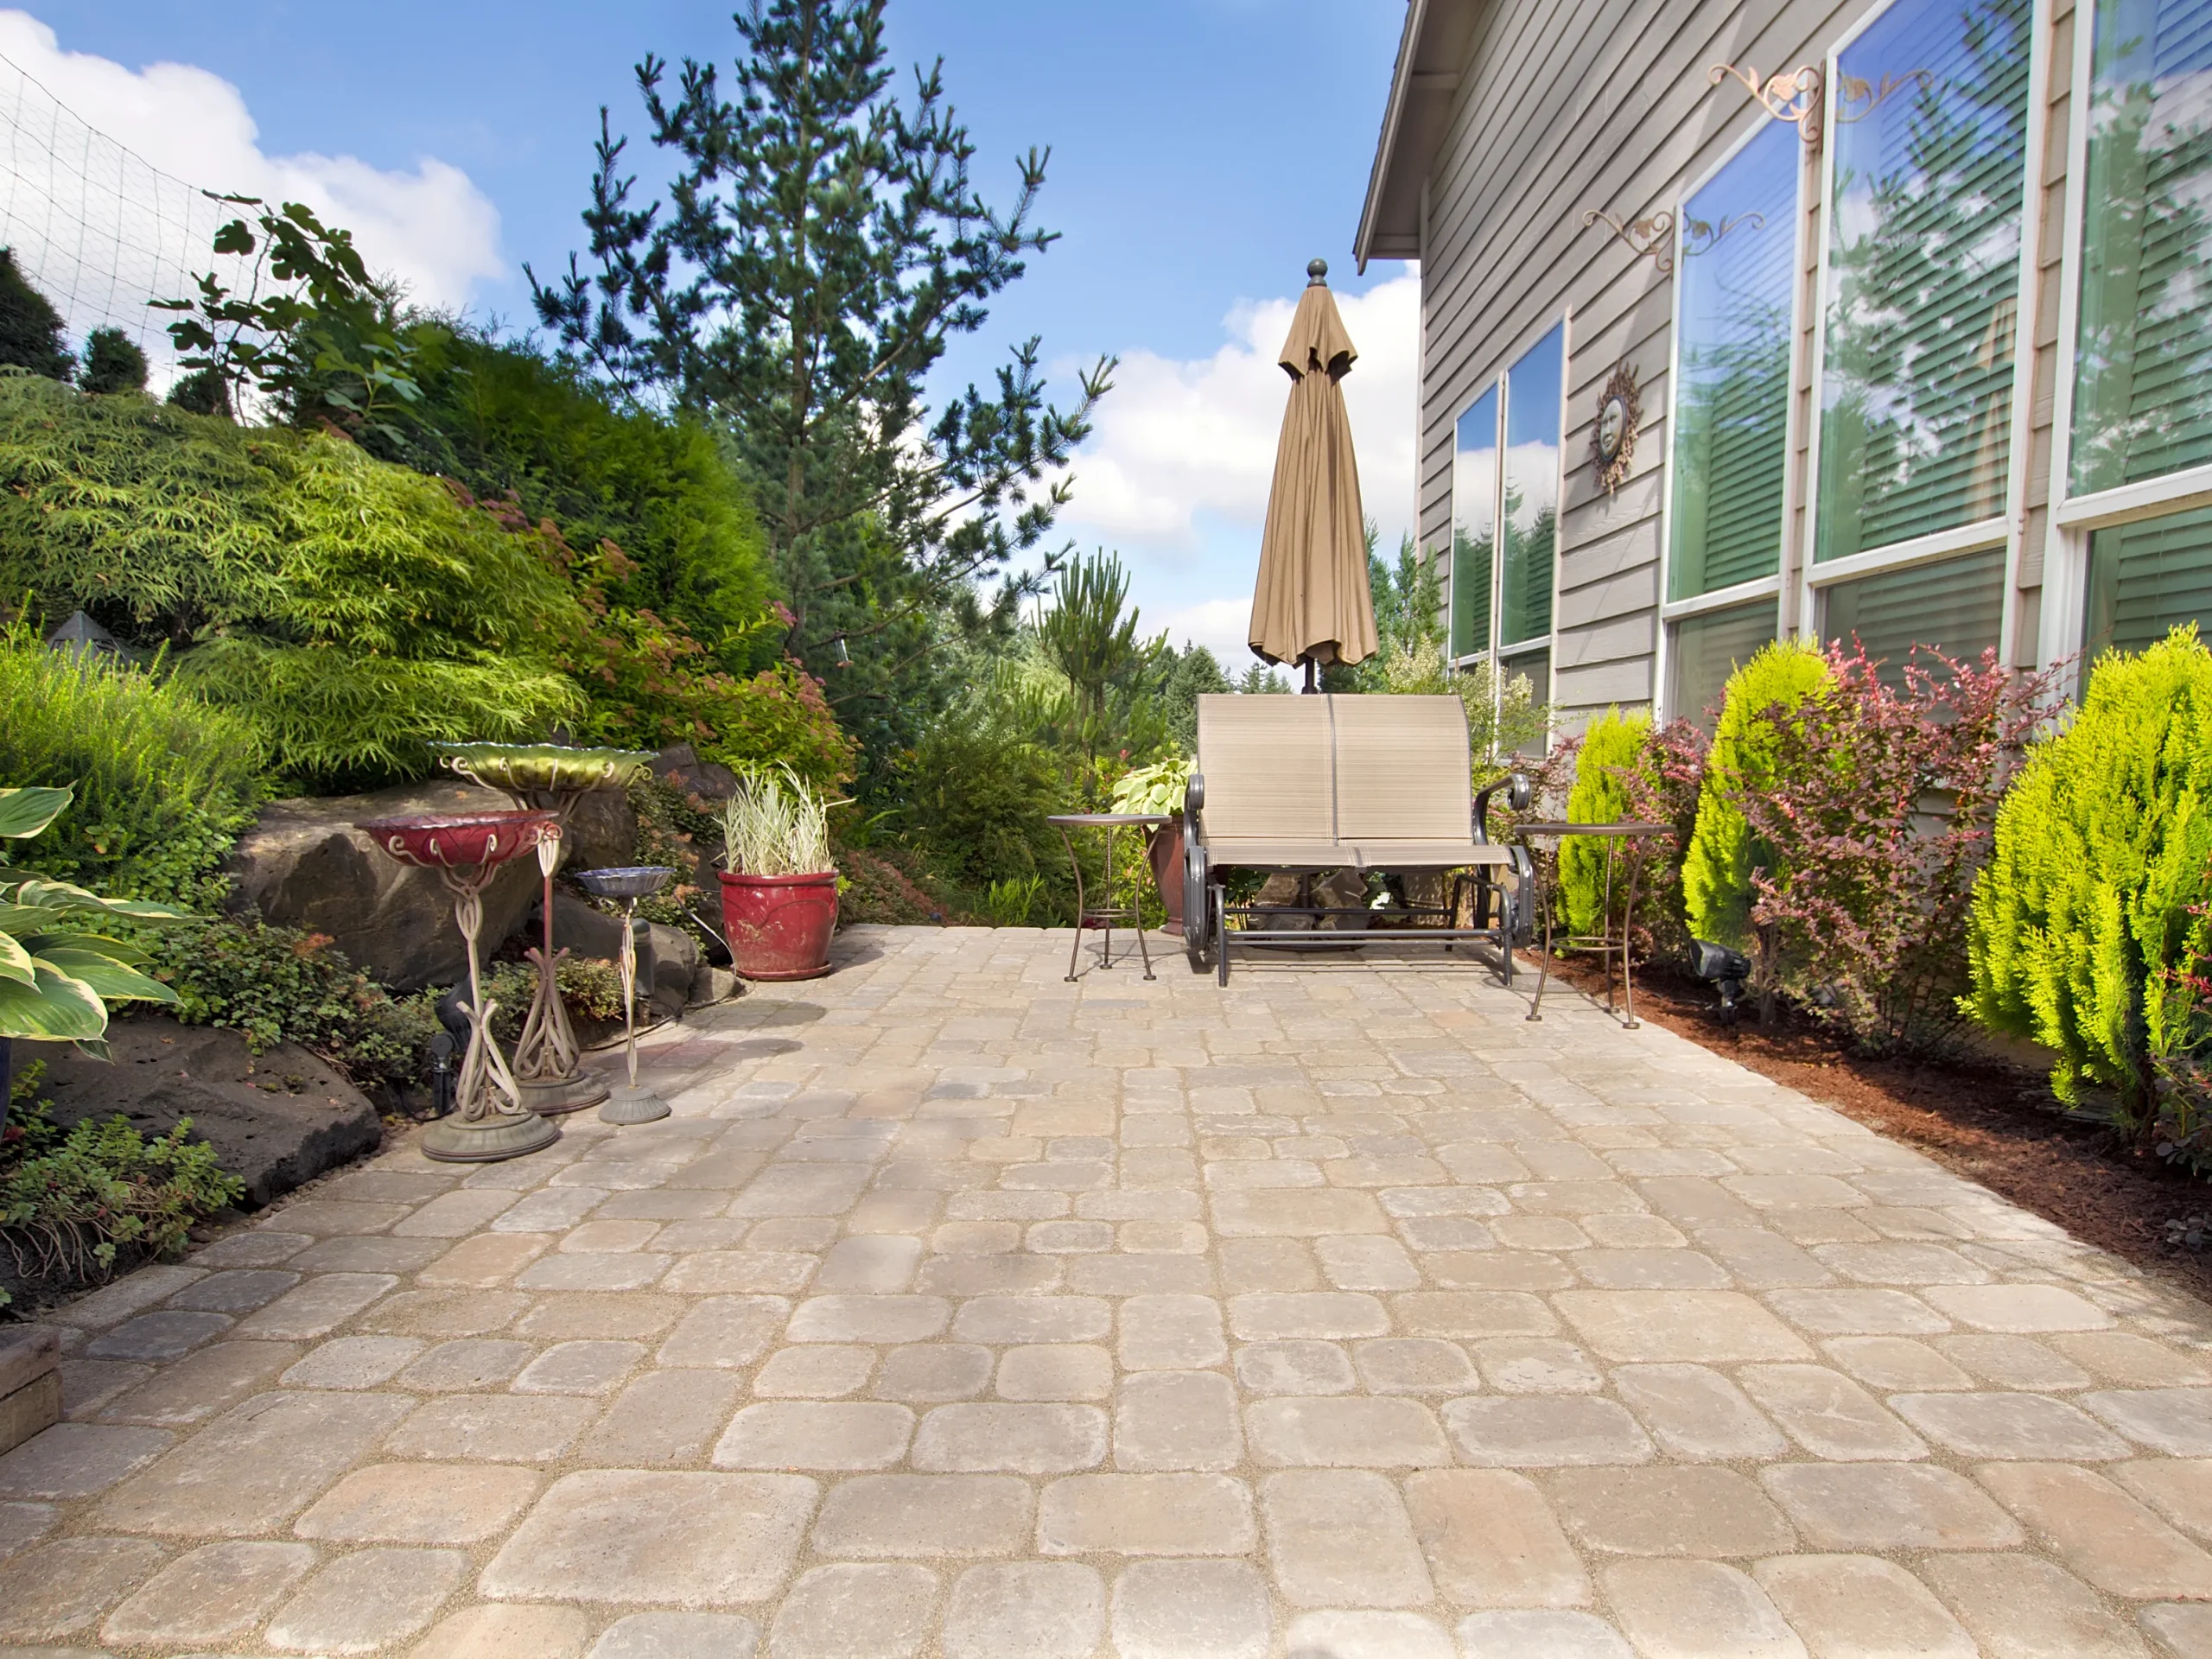
Paver Patio: A busy patio call for pavers can be an excellent option as the material is highly durable. As a bonus, pavers come in various colors, shapes, and patterns that can fit seamlessly into your patio’s design. Our tip for an unlike-any-other patio is mixing and matching pavers of different colors or shapes.
Flagstone Patio: While installation requires more effort and planning than other materials, the result will not disappoint. Flagstones’ irregular shapes, perfectly matching each other, and earthy tones make them a stunning choice for natural, free-flowing outdoor space while also being timeless and durable.
Brick Patio: Bricks are a tried-and-true option that has been around homes forever. Whether laid in a running bond, basketweave, or herringbone pattern, bricks never fail to create a classic and traditional aesthetic for homes. The best part is that brick can be recycled and reused for other purposes, making it eco-friendly.
Concrete Patio: This one offers flexibility in design. You can easily stamp, stain, or texture concrete to mimic more expensive materials like tile or stone. The result will be a sleek, modern-looking patio that doesn’t require much maintenance effort.
Step 2: Gather Your Materials & Tools
Choosing the right materials is one of the most important decisions in patio building, as it impacts both durability and design. Here are the materials you need before getting started:
Materials
- Patio Surface Materials: Choose a material based on your design and consideration. Measure the space correctly to determine the amount of material you’ll need. Too little can cause delays, while too much may lead to unnecessary expenses. Remember to leave some extra material for cuts, adjustments, or future repairs.
- Level Materials: Use sand or gravel base as the foundation to provide stability and drainage. Typically, a 4-6-inch layer of compacted gravel is used for the base, followed by a 1-inch layer of coarse sand to ensure even placement.
- Edging Materials: Install edge restraints to maintain the integrity of your patio’s shape and prevent the materials from shifting. Depending on your aesthetic preference and budget, you can choose plastic, metal, or concrete edging.
- Jointing Materials: After laying the patio surface, fill the joints with polymeric sand or mortar to lock the materials in place and inhibit weed growth.
Must-Have Tools for a DIY Patio Project
Next, make sure you have these must-have tools at hand. If you haven’t, check out Johnson’s Ace Hardware for everything you need when learning how to build a patio, from tools to high-quality materials.
- Shovel & Rake: Essential for the first step of excavating and leveling the ground before laying the base materials.
- Level: Ensures the patio surface is flat and even, preventing dips or uneven spots.
- Rubber Mallet: Used for gently tapping pavers or stones into place without cracking them.
- Measuring Tape & String Line: A DIY project requires accurate measurements and straight lines for a precise layout.
- Garden Hose or Sprayer: Useful for moistening and setting materials, such as activating polymeric sand in paver joints.
Step 3: Prepare the Patio Area
Proper preparation is essential when learning how to build a patio that lasts for years. Always start by following our step-by-step in preparing the area below:
Mark and Measure the Patio Space
Start by measuring your space accurately to ensure you have the right amount of materials. Then, outline it using string, spray paint, or stakes. Before you do anything, double-check and adjust if needed.
Excavate and Level the Ground
Dig out 6-8 inches of your ground using your shovel to lay the leveling materials and patio surface. Also, use a rake to Remove any grass, debris, or roots to ensure a clean and smooth base moving forward.
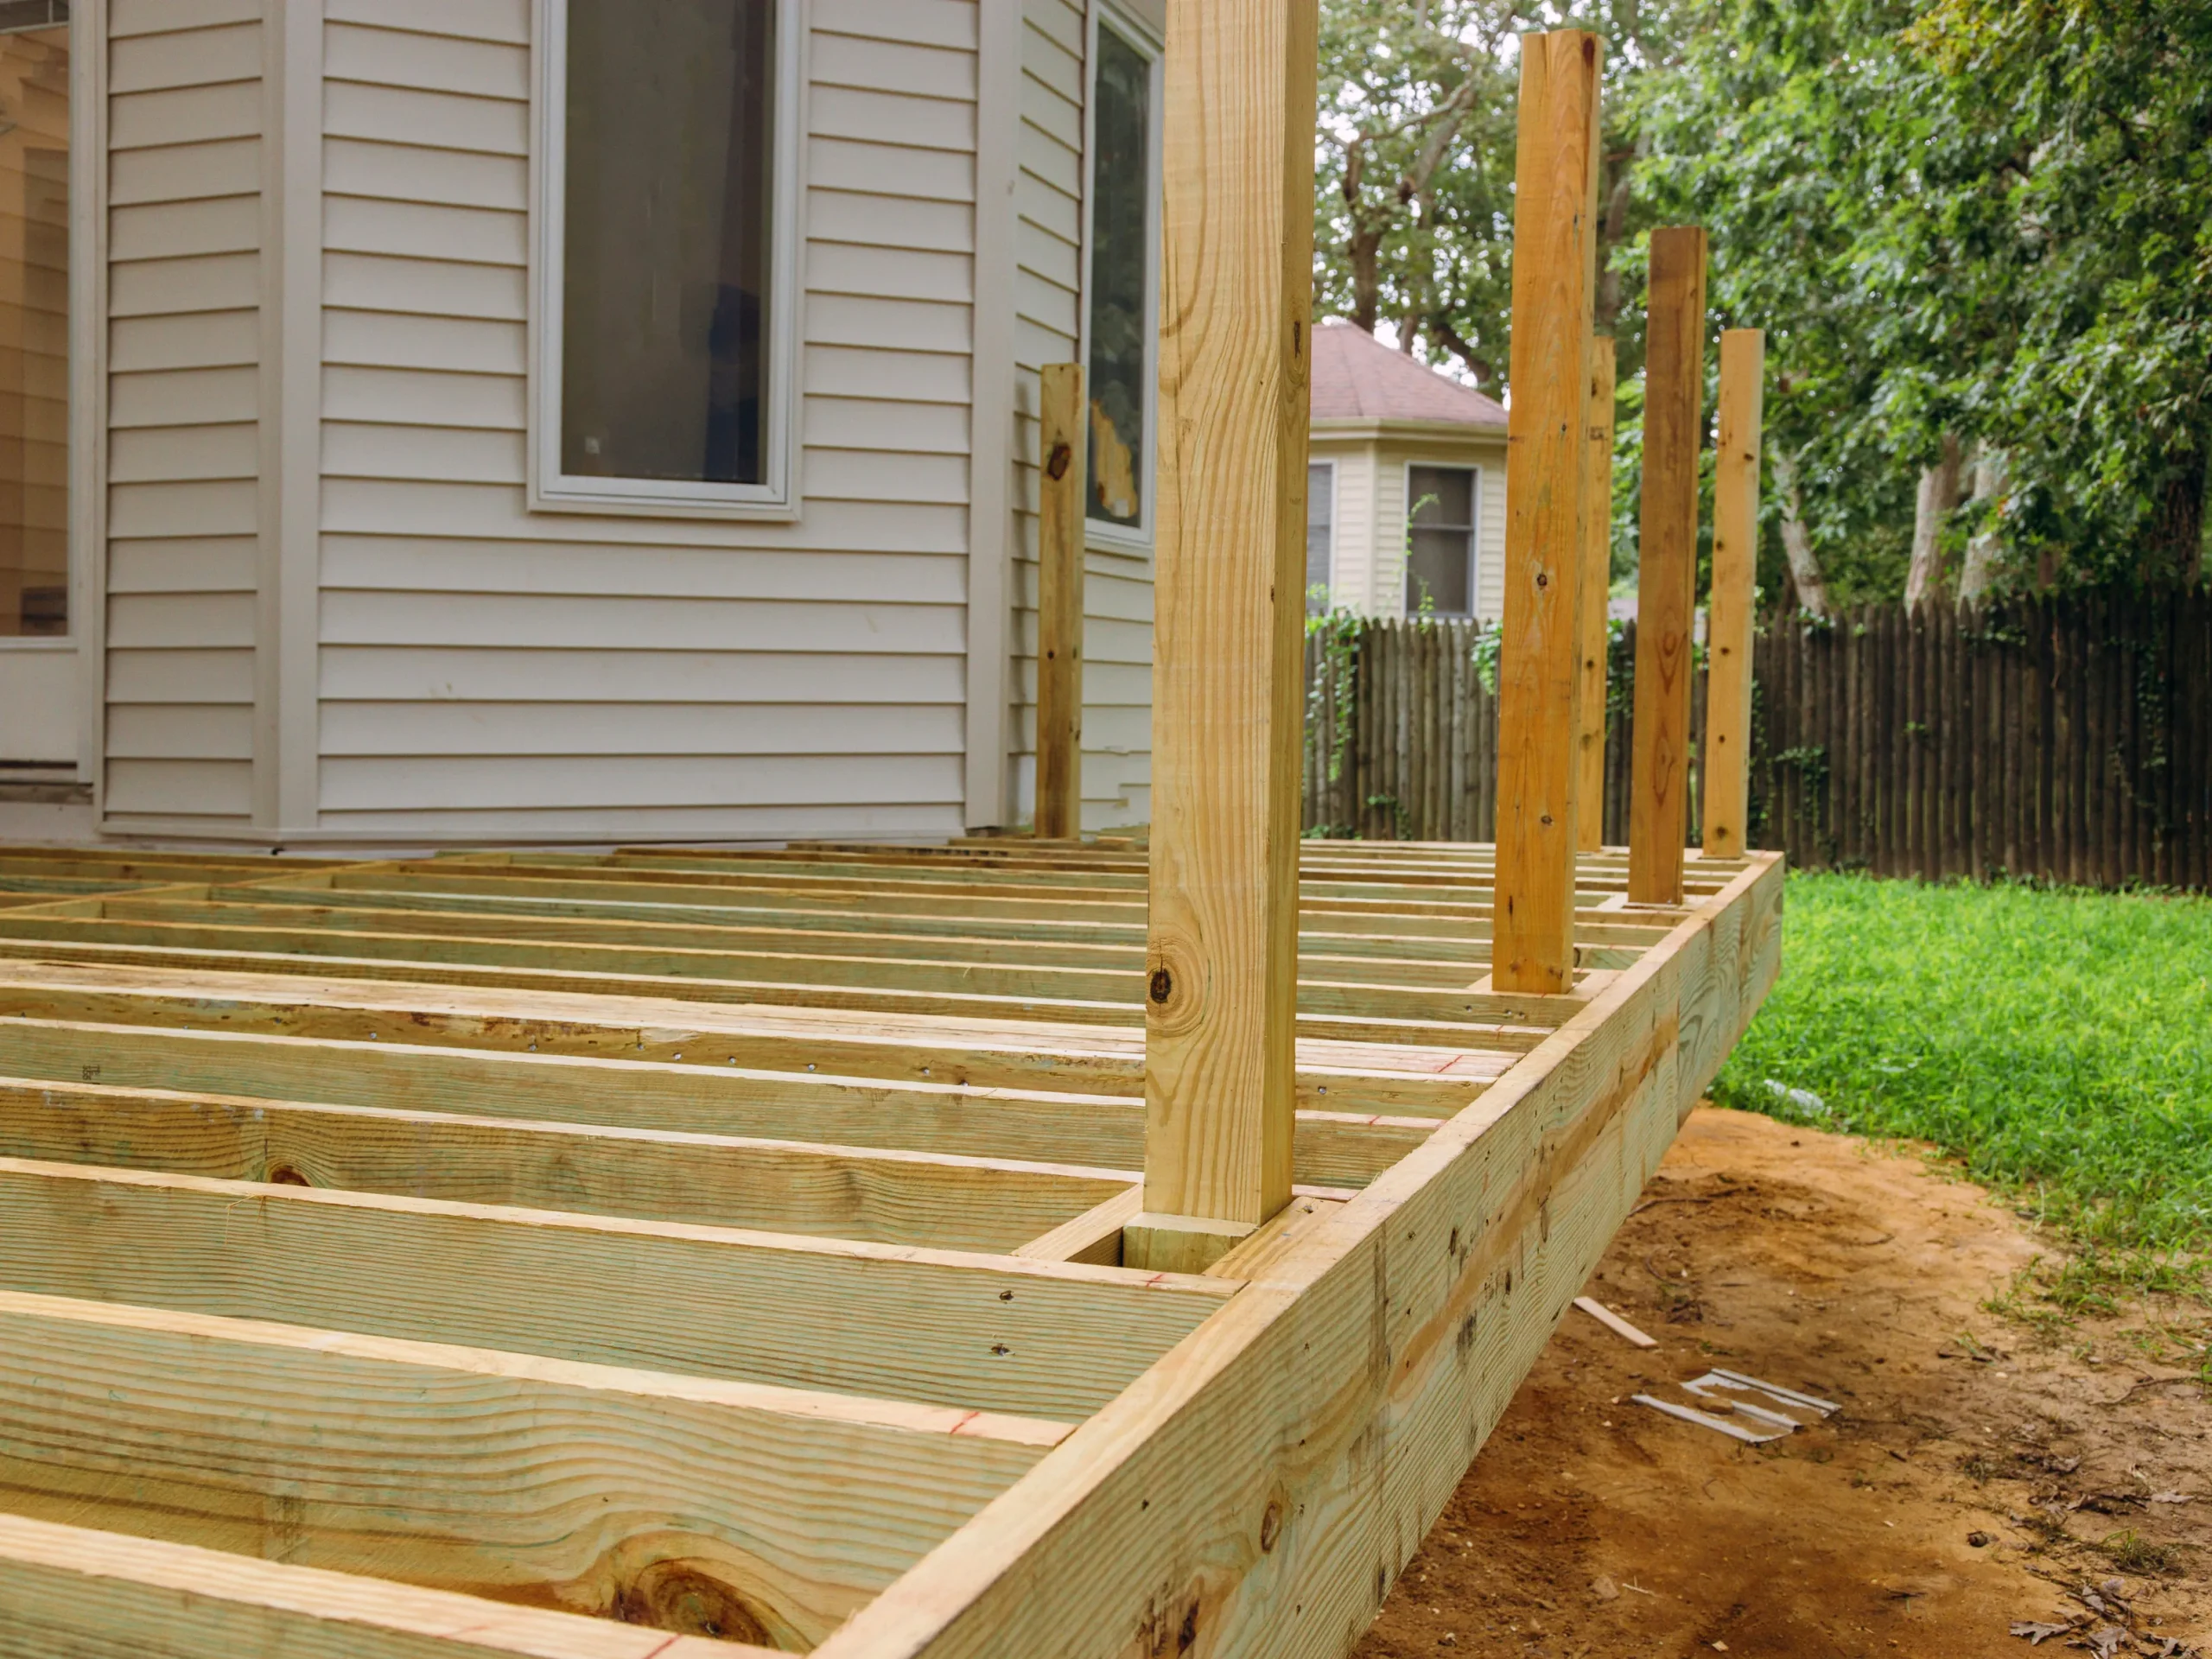
Lay the Foundation
Spread the compacted gravel for 4-6 inches and firmly press it down. After that, add 1-inch layers of coarse sand to level your base and ensure patio materials sit securely, preventing any shifting over time. screed it evenly using a straight board to achieve a smooth, level surface.
Step 4: Install Your DIY Patio
Lay Pavers, Bricks, or Stones
Place your chosen patio materials on your prepared base from one corner and work your way outward. Keep aligned to your design, and gently tap each piece into place using a rubber mallet.
Fill the Gaps and Secure the Patio
Once materials are laid, fill any gap with regular sand, mortar, or polymeric sand, depending on your materials. If you’re using sand, for example, sweep sand into the joints and use your garden or sprayer to lock everything in place.
Step 5: Add Finishing Touches

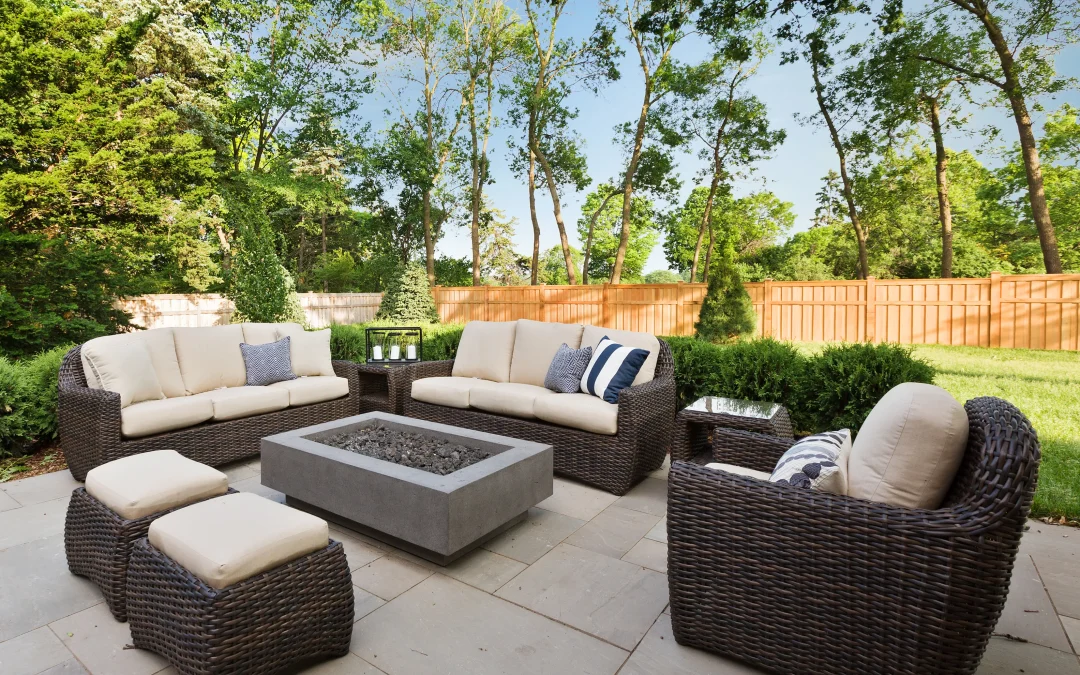
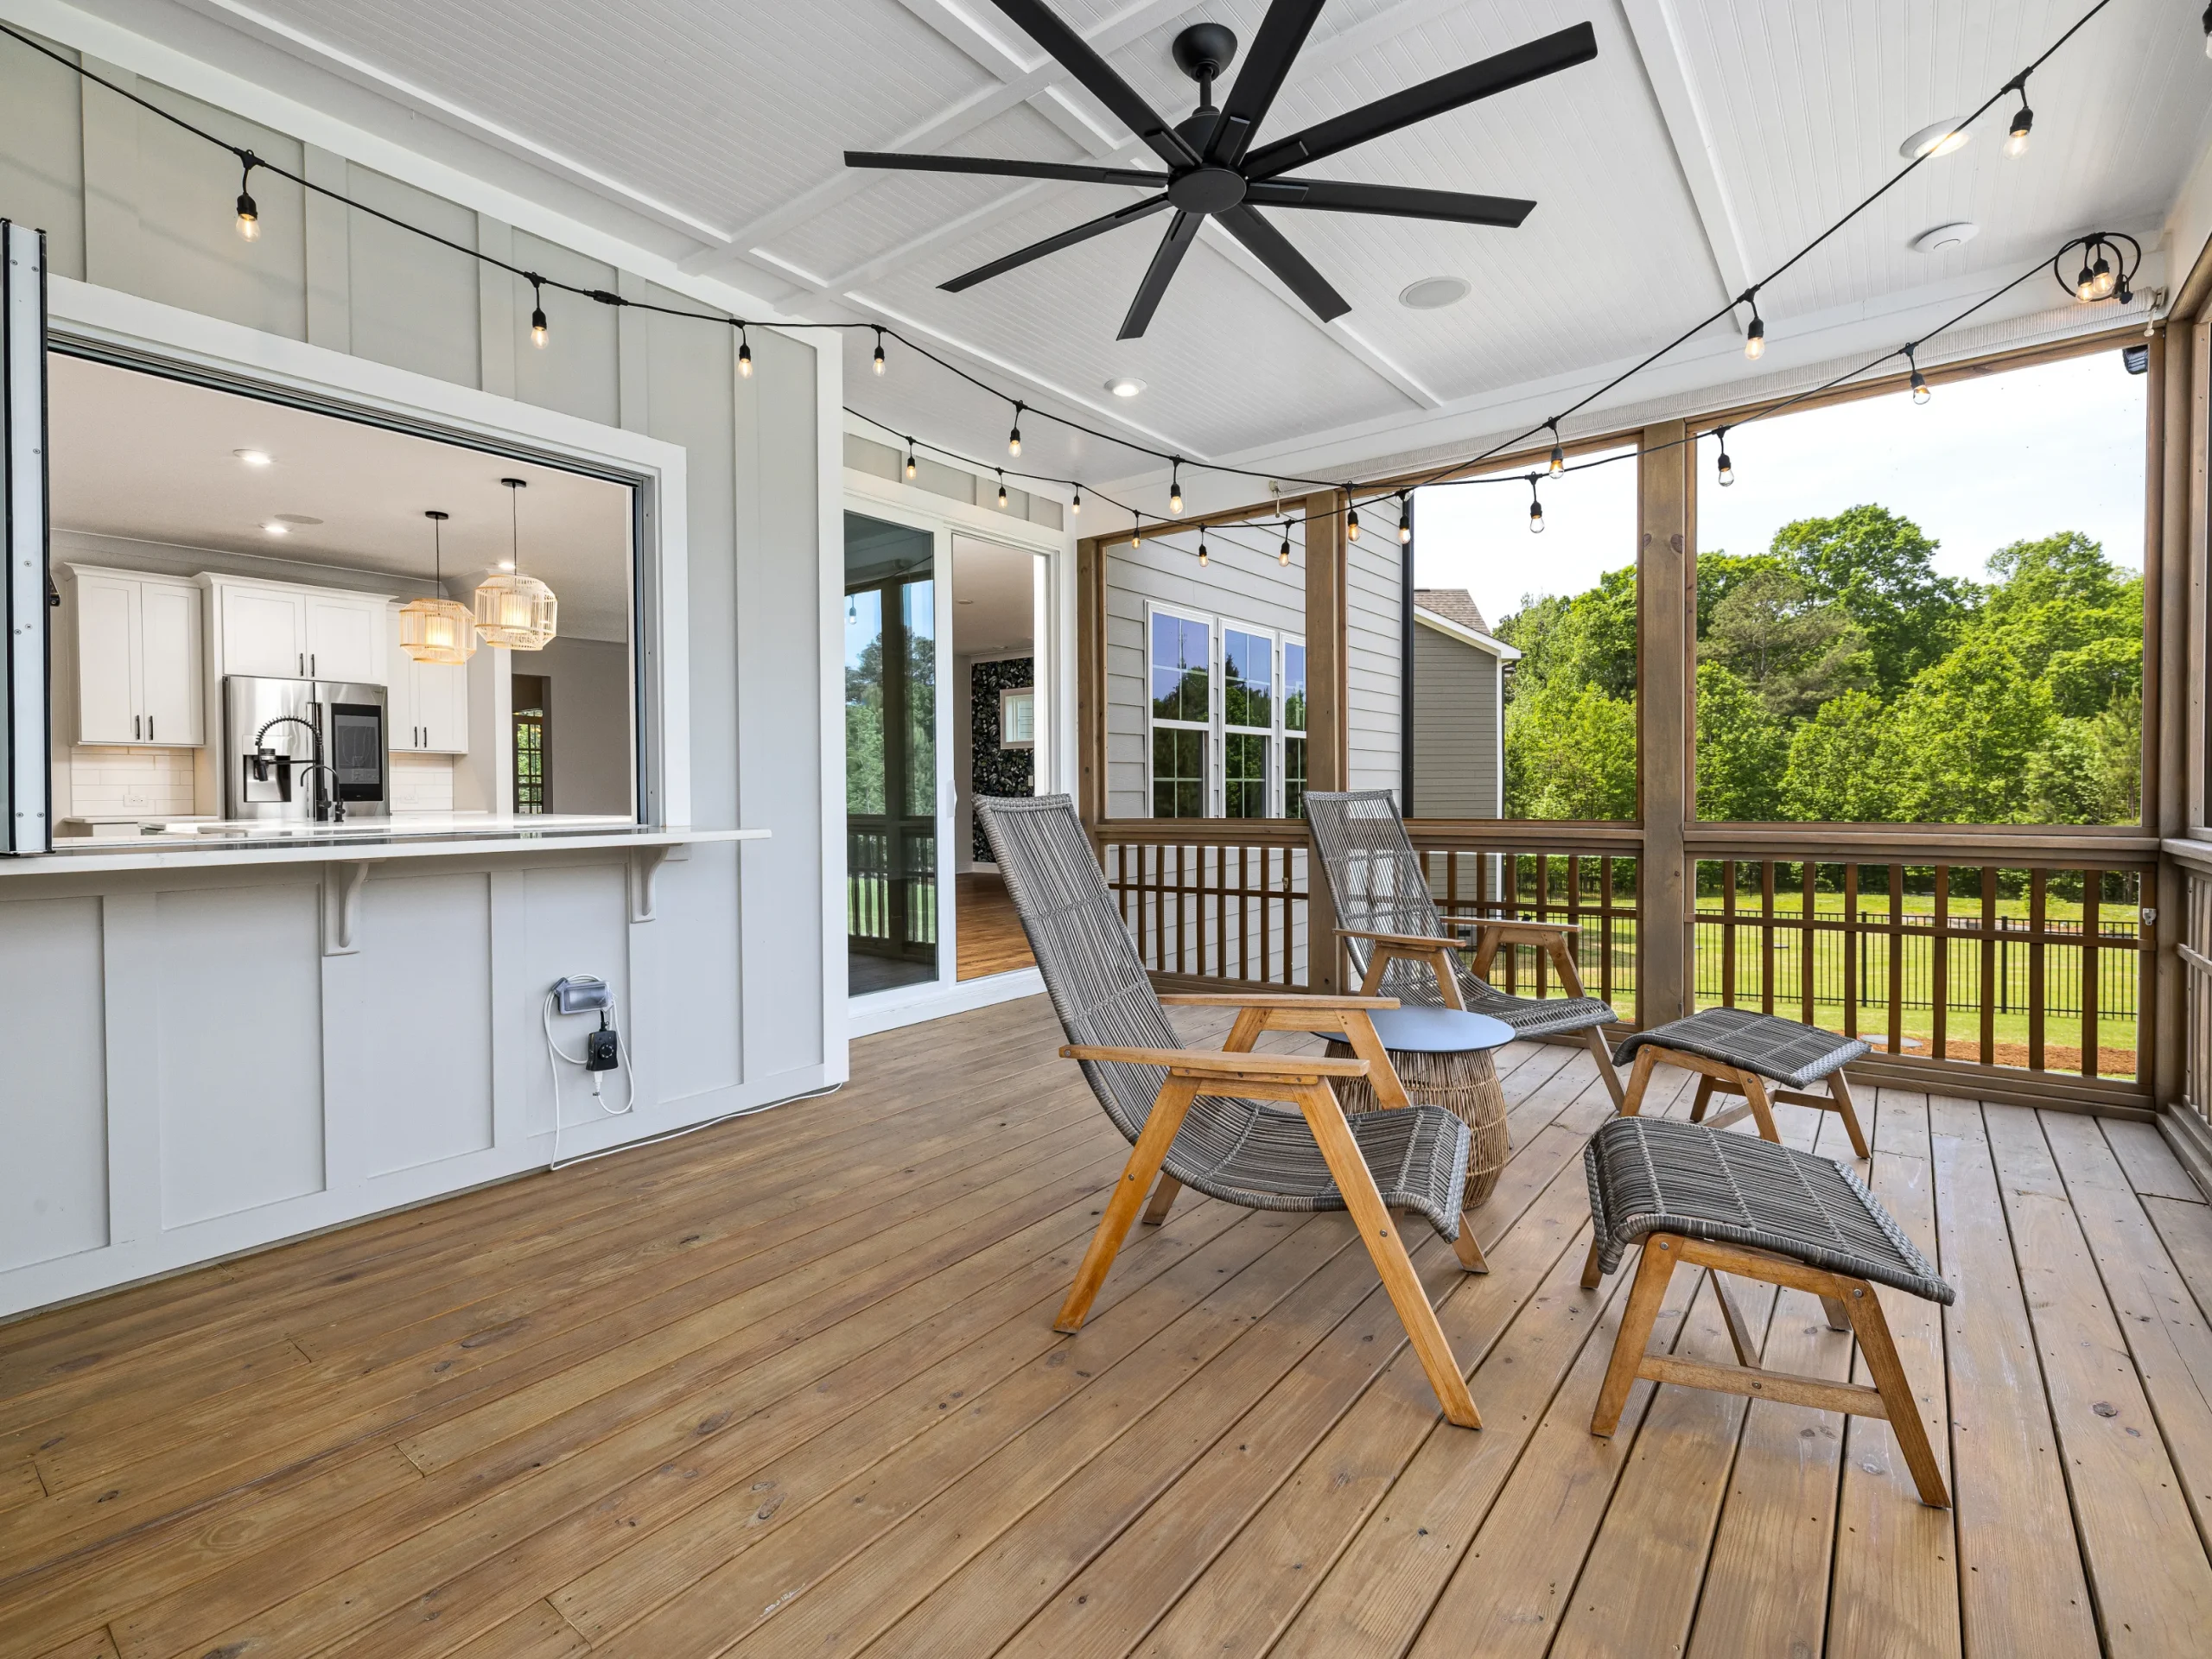
Outdoor Furniture and Decor
Now that you have brought those DIY patio ideas to life, it’s time to spice up your space with some furniture and decor. If you plan on hosting in your outdoor area, opt for a comfy outdoor lounge chair and outdoor dining set. Add some cushions (and where to store them), charming lighting, and some outdoor rugs to make it more inviting.
Landscaping Around the Patio
Prepare your patio as a place to escape from the hustle and bustle of daily life by incorporating plants, shrubs, garden beds, or even a small water feature. For extra privacy, consider using climbing plants or trellises.
Patio Maintenance
If you’ve completed this last step, huge congratulations to you! But your beautiful patio won’t look like it did the day you finished building it with our DIY patio ideas alone. A commitment to simple occasional maintenance like power washing will keep it beautiful and functional for years to come.
Buy Your DIY Patio Supplies at Johnson’s Ace Hardware
Now that you know how to build a patio and have the tools for successful patio building, it’s time to get started! From the tools and materials you need to finishing touches like an outdoor chair set and grill set, we have everything you need to help bring your patio project to life and enjoy time with your loved ones in it.
Visit Johnson’s Hardware today to explore all the essentials for your DIY project.
FAQs
How do you build a patio step by step?
To learn how to build a patio, start by planning your layout and choosing materials. Next, prepare the ground by excavating and adding a gravel and sand base. Then, install your patio surface, secure the joints, and finish with furniture and landscaping.
What is the easiest way to start patio building?
The easiest way to start patio building is with a gravel patio. It requires minimal tools, simple ground preparation, and provides good drainage, making it ideal for beginners.
What materials are best for patio building?
Popular patio building materials include pavers, concrete, brick, gravel, and flagstone. The best choice depends on your budget, design preferences, and how much maintenance you’re willing to handle.
How much does it cost to build a patio yourself?
The cost of patio building varies based on materials and size, but most DIY patios range from $5 to $20 per square foot. Choosing budget-friendly materials like gravel can help reduce overall costs.
How long does it take to build a patio?
Most patio building projects take between 2 to 5 days to complete. The timeline depends on the size of the patio, the materials used, and the amount of preparation required.

Recent Comments