Among the many home DIY renovation tasks, spray painting is one of the most fun to do. However, don’t get it wrong, or else it can be a mess of a job! So, how to spray paint the correct way? And how long does it take for spray paint to dry? Learn more about spray painting below.
What You Need Before You Start Spray Painting: Essential Spray Painting Supplies
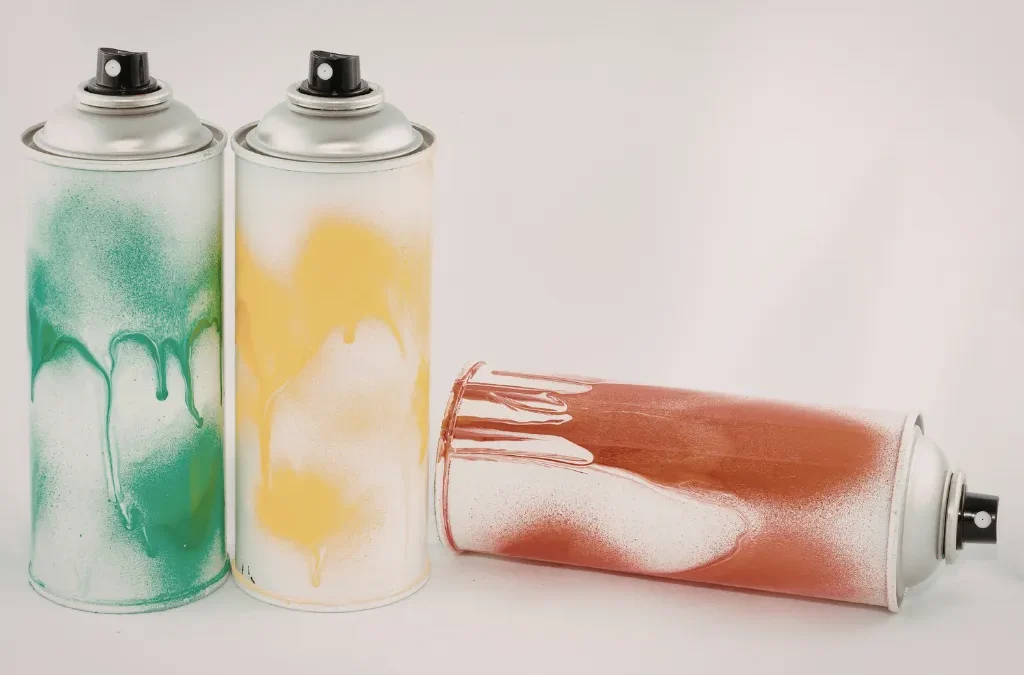
Before we get to the details on how to spray paint, let’s first get the essentials ready. That is, the spray painting supplies.
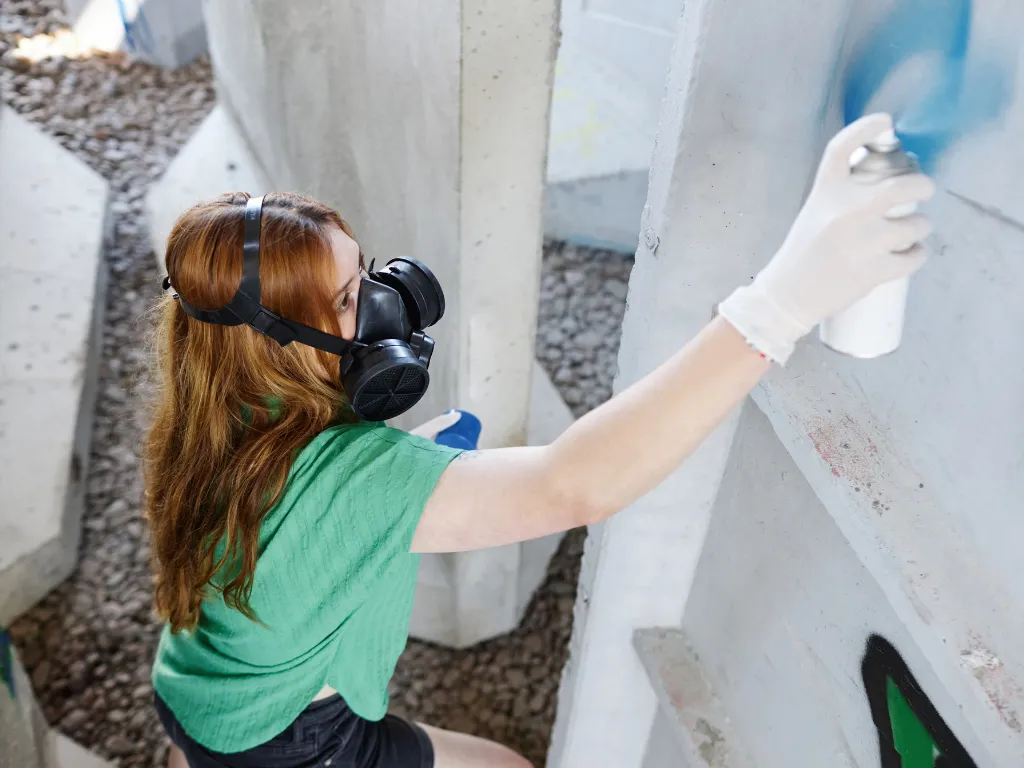
First, safety gear. Spray paint contains chemicals that you should not inhale, and before you open the can, pick up a respirator mask. In addition to the mask, consider a pair of gloves so that you don’t paint your fingers by accident. Finally, a paint suit (or similar protective clothing) with long sleeves and pants will protect you from any accidental paint sprays.
Next are surface-preparation supplies, such as sandpaper for smoothing and finishing, cleaner, and tack cloth for dust removal. You’ll also want to have masking materials to protect trim and edges from paint, such as masking tape, and drop cloths or plastic sheeting to cover the floors.
Choose the Right Spray Paint for Your Project
Once you have all the essential supplies to support your paint job, get on with choosing the right spray paint for your particular project. So how do you decide the right one?
Best Spray Paint Types by Surface
Remember, different paint is required for different surfaces. Look for paint that contains rust preventives for metal. For wooden surfaces such as furniture and cabinets, go for general-purpose paint. For other surfaces like plastic, glass, and ceramics, check the label to ensure the paint is suitable for those surfaces.
Pick the Right Finish
Choose the finish from a selection of options. The paint’s appearance and feel are determined by its finish. It can be Gloss (shiny) – ideal for trim and doors. Semi-gloss (balanced shine) – great for bathrooms and kitchens. Matte (sophisticated, non-reflective look) works well for accent pieces. This particular decision really depends on your preferences, so have fun choosing your style!
Indoor vs. Outdoor Spray Paint
Next, the location of the painted items. If situated outdoors, you want a paint with UV protection and waterproofing to prevent fading in sunlight and peeling in the rain. If it’s indoor, you have more flexible options. For example, you can choose from a range of durable paints for different surfaces with multi-purpose solutions.
How to Prepare a Surface for Spray Paint
Before you can start spraying, make sure you have prepared the surface well. A good wash with soap and water to remove dirt, grease, grime, then strip back any rust, remove any old peels, and sand to a finish ready for spraying. Then, a final gentle wash to remove any remaining dirt. Last but not least, cover up any areas that you don’t wish to paint with plastic sheets, masking paper, or painter’s tape.
How to Spray Paint Step by Step
Set Up in a Well-Ventilated Area
Working with spray paint requires a well-ventilated area, especially if you’re working indoors. You want to have a space with good airflow to prevent fume buildup and dust. If you’re working indoors, have fans to create airflow and keep away from any open flames or sparks because spray paint is highly flammable.
Shake the Can Thoroughly
 Shaking the can is one of the most basic yet crucial parts of the initial process. So why shake the can? Shaking the can makes sure the paint is mixed properly and helps create a consistent pattern when spraying.
Test the Spray First
Before you go on to your intended surface, check the spray on a cardboard. Test spraying, especially right after opening the can, helps clear the nozzle and prevent sputtering, bursting, and color mismatch.
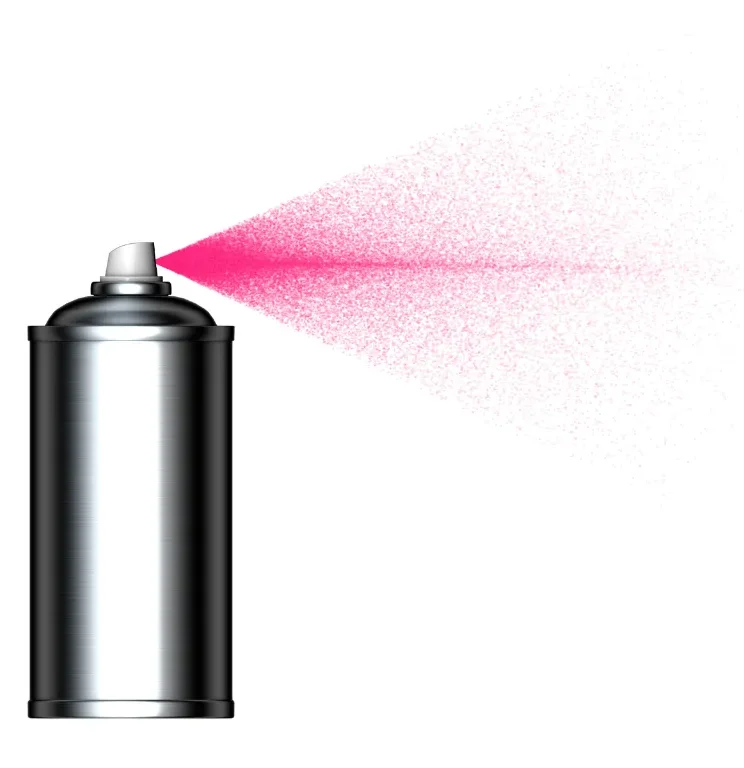
Hold the Can at the Right Distance Away
Spraying from the right distance matters. If sprayed too close, you risk heavy texture. Sprayed too far, you’ll get dusty spray. Ideally, you want to maintain a distance of around 6-8 inches from the surface and in a straight-on position.
Use Smooth, Sweeping Motions
Movement is another essential part of a good spray paint result. Move in smooth, sweeping motions with horizontal strokes first, then vertical on the next layer. You also want to make sure to move with your whole arm, not just the wrist. This motion will help achieve more consistent and neater results.
Apply Thin Coats & Let Dry In Between Coats
When spray painting, the ideal result is a smooth finish with no drips or sagging texture. This can be achieved by applying thin coats first.
Multiple light coats will also help prevent cracking and ensure even coverage. However, make sure the first layer is completely dry before applying the next one.
Apply a Clear Topcoat if Needed
The last step is optional, but it can provide some advantage in certain situations. A clear topcoat serves as an additional layer to increase durability and control sheen, so it can help with items that experience high traffic or are located outdoors.
Common Spray Painting Mistakes to Avoid
Applying Coats That Are Too Heavy
A thick coat can result in runs and drips, leading to sagging. This is due to its weight — the thicker the coat, the heavier it is. If you want to achieve a smooth texture that looks like a professional finish, ensure that only thin coats are applied. And if you’re wondering how long it takes for spray paint to dry, this too can be influenced by how thick the coat is.
Skipping Surface Prep
If you want to avoid a mess, a lot of cleanup after spray painting, and a bad result, you sure don’t want to skip surface prep. Cleaning the surface before applying paint and covering floors and other surfaces that will not be painted will help you spray paint more neatly and faster, and, all in all, achieve a worthwhile result!
Spraying Too Close or Too Far Away
Avoiding our spraying distance tip of approximately 6 – 8 inches will result in a coat that’s too thin or too thick, which, as you’ve learned, can cause common finish defects like sagging, dripping, and uneven texture.
Not Shaking the Can Enough
As mentioned earlier, shaking is the simplest but essential step not to miss. Therefore, when shaking the can, don’t hesitate. Shake the can for about 1-2 minutes, and pay attention to the ball inside until it moves freely.
A good rule of thumb when shaking is: it’s better to shake the can longer than for too short a time, so that you make sure the paint has mixed properly and thoroughly.
Painting in Bad Weather Conditions
Bad weather conditions, such as heavy rain, strong winds, cold temperatures, and extreme heat, create conditions that are very counterproductive to spray painting. For instance, during rain, there’s a risk of moisture that can cause a damp surface, which in turn leads to peeling and bubbles. In a cold climate, paint will struggle to dry effectively. And in high winds, it can carry dust and debris, which is bad news for the application process.
Touching or Using the Item Too Soon
This ties into the question many wonder about: How long does it take for spray paint to dry? Generally, the paint itself can dry in 10 to 30 minutes. However, for it to be safely handled, wait for at least an hour or two. You certainly don’t want to see your hard work ruined in seconds. Therefore, be patient and avoid touching the painted items too early.
Shop Johnson’s Ace Hardware for Spray Paint Supplies
Look no further than Johnson’s Ace Hardware for all your spray paint needs. We’ve got all the supplies you need to help you spray paint effectively and with ease. Visit our store or contact our team for any inquiries–we’ll be more than happy to help you.
FAQs
How do you spray paint without leaving streaks?
Apply a thin coat, let it dry before applying the next layer, and keep a distance of around 6 – 8 inches from the surface.
Do you need to sand before spray painting?
Yes, to ensure a smooth surface finish and proper adhesion.
How many coats of spray paint should you use?
Depends. If you have painted items that are located outside or experience high traffic, a few layers will certainly help. Otherwise, 2 thin even coats will suffice.

Recent Comments