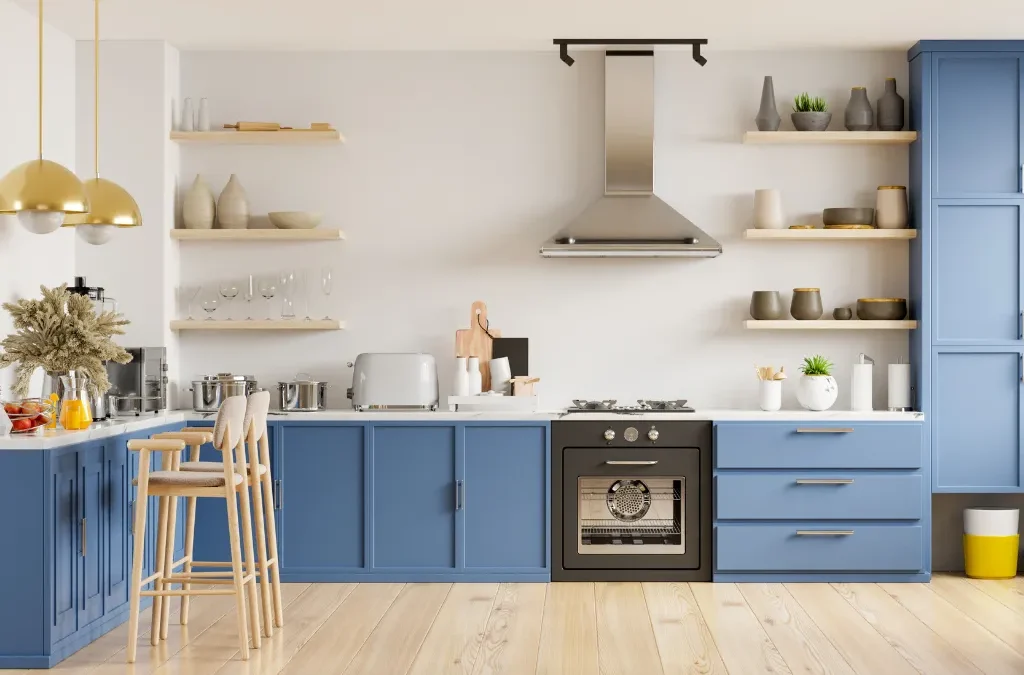
So, you’ve decided it’s time to spruce up your home by upgrading your kitchen, and what better way to transform the heart of your home than by giving your cabinets a fresh, new look? Whether you want to modernize your space or add a splash of color, prep your kitchen cabinets and embark on this DIY journey on how to paint kitchen cabinets. Not only is it a cost-effective way to revitalize your kitchen, but it also allows you to unleash your creativity. Before you dive in, let’s walk through the process step by step, ensuring your cabinets end up looking professionally painted.
Materials Needed
Before you get your hands dirty, let’s gather the essential materials for this project. Having the right tools and supplies will make learning how to paint kitchen cabinets much easier and ensure a smoother, more professional-looking finish.
1. Paint and Primer Selection
Choose high-quality paint and primer for cabinets and trim work. These products are formulated to withstand the wear and tear of daily kitchen use.
2. Sandpaper and Sanding Block
To ensure even sanding on flat surfaces, you’ll need different sandpaper grits, varying from coarse to fine, and sanding blocks.
3. Paintbrushes and Rollers
A good-quality angled brush will help you reach tight corners and crevices, while a small foam roller will make painting flat surfaces a breeze.
4. Painter’s Tape
This product helps you achieve crisp, clean lines and protects areas you don’t want to paint.
5. Drop Cloths or Plastic Sheeting
Use these simple materials to protect your surrounding areas from drips and splatters.
6. Screwdriver or Drill
If you plan to remove your cabinet doors, keeping one of these items within reach will make the process much easier.
7. Safety Gear
Don’t overlook this crucial material! Your well-being is as important as achieving a beautiful, long-lasting finish on your cabinets. Protect yourself with gloves, goggles, and a respirator mask.
How To Prep Your Kitchen Cabinets
When learning how to paint kitchen cabinets, good preparation is essential for a flawless, long-lasting finish. Follow these steps to make sure your cabinets are ready for their makeover:
1. Clear countertops and workspaces
Begin by clearing countertops and workspaces, providing ample room to maneuver during the painting process. Doing so will make the process smoother and avoid accidental spills or splatters.
2. Remove cabinet hardware and doors
Unscrew and remove all cabinet hardware, such as hinges, knobs, and handles. Then, carefully remove the cabinet doors and set them aside.
3. Label doors and hinges
Label each door and its corresponding hinge with a numbering or lettering system. While it might appear unnecessary, labeling your cabinet doors properly and hinges can save you tremendous frustration later on.
4. Clean and degreasing surfaces
Use a degreasing cleaner to remove any built-up grease, grime, or residue from the cabinet surfaces. This step is vital to ensure the paint adheres correctly.
5. Protect floors and appliances
Before you roll up your sleeves and paint your kitchen cabinets, cover nearby appliances, floors, and walls with plastic sheets or drop cloths to catch drips or splatters.
How To Paint Kitchen Cabinets
Now that your cabinets are prepped and ready, it’s time to start painting! Here’s a complete guide for how to paint kitchen cabinets for a professional-looking finish:
1. Sand the Surfaces
Before you unleash your inner Picasso, it’s time to prepare the canvas by sanding the surfaces of your cabinets. Sanding is pivotal in achieving a smooth finish, removing imperfections, and providing a better grip for the primer and paint. Using medium-grit sandpaper, gently roughen the surfaces, paying extra attention to any existing finishes or glossy surfaces. Once the sanding is complete, thoroughly clean the surfaces to remove dust and debris. Remember, a clean canvas sets the stage for a flawless masterpiece.
2. Apply Primer
With your cabinets now sanded and cleaned, it’s time to apply the primer. Primer is a crucial foundation, ensuring the paint adheres well and providing a uniform surface for a professional finish. Use a high-quality primer suitable for your cabinet material, applying it evenly with a brush or roller. Be patient and let the primer dry thoroughly before progressing to the next step. This process ensures optimal adhesion and contributes to the longevity of your painted cabinets.
3. Paint Your Cabinets
Now comes the fun part – paint your kitchen cabinets. Employ a combination of paintbrushes and rollers to achieve a smooth and even application. Use an angled brush and apply the paint in thin, even strokes for intricate details, crevices, and hard-to-reach areas. Work in the direction of the wood grain and maintain a wet edge to prevent the formation of lap marks. Use a small foam roller for flat surfaces, such as cabinet doors and drawer fronts. Apply the paint evenly in a thin coat, working in sections and maintaining a wet edge as you go. Applying several thin layers instead of a single thick coat is better for better control and a more professional result.
And here’s a pro tip: stay up-to-date on the latest trends with our tips on the best interior colors.
4. Reassemble And Hardware Installation
As your painted cabinets dry to perfection, it’s time to reassemble them. Carefully reattach the doors, ensuring proper alignment and adjustment of hinges as needed. Let the paint fully cure as per the instructions provided by the manufacturer before reinstalling any hardware or knobs. This step will prevent dents or damage to the fresh paint. Patience is key, and rushing this step can compromise the overall aesthetic.
5. Add Finishing Touches And Clean Up
Congratulations, you’ve successfully transformed your kitchen cabinets! However, the journey isn’t quite over yet. It’s time to add those final touches that elevate your cabinets to a professional standard. Inspect the painted surfaces for any necessary touch-ups or corrections, addressing them promptly. Once satisfied, it’s time to clean up. Rinse your brushes and tools thoroughly, following proper disposal procedures for any leftover paint materials. By taking these extra steps, you maintain the longevity of your tools and contribute to a more sustainable and eco-friendly home renovation project.
Some Common FAQs
1. Do I need to sand my cabinets before painting?
Yes, sanding is a crucial step when learning how to paint kitchen cabinets. It helps remove any glossy finish and ensures the primer and paint adhere properly. Even if your cabinets are in good condition, a light sanding will improve the final look and durability.
2. How long should I wait between coats of paint?
Drying times vary depending on paint type and room temperature, but generally, you should wait at least 4–6 hours between coats. Always check the manufacturer’s instructions for the best results when following steps on how to paint kitchen cabinets.
3. Can I paint cabinets without removing the doors?
While it’s possible, removing cabinet doors provides a smoother, more professional finish. It also helps you reach corners and edges easily. If you decide to keep the doors on, take extra care to tape edges and protect hinges.
4. How can I prevent brush marks when painting kitchen cabinets?
To minimize brush marks, use a high-quality angled brush and a foam roller for flat surfaces. Apply thin, even coats and work in the direction of the wood grain. Lightly sanding between coats can also help achieve a flawless finish.
5. How long does it take to paint kitchen cabinets from start to finish?
Depending on drying times and the number of coats applied, the entire process can take 3–5 days. Taking your time ensures the paint fully cures, giving your cabinets a durable, long-lasting finish.
End Note
In conclusion, knowing how to paint kitchen cabinets is a fulfilling DIY project that can breathe new life into your kitchen space. Whether you’re tackling this project for the first time or refining your technique, following these steps on how to paint kitchen cabinets ensures a durable, professional finish you’ll love. Embrace the creative process, experiment with colors, and enjoy the transformation. Remember, success depends on careful preparation, quality materials, and a patient approach.
If you’re looking for reliable hardware and tools for your cabinet makeover, feel free to visit Johnson’s Hardware, where our knowledgeable staff will be happy to assist you in making your kitchen renovation a success!

Recent Comments