Now that the summer is starting to wind down, this is the perfect tie of year to tackle some outdoor painting projects before it gets too cold outside.
Outdoor painting projects can be an easy way to enhance your home’s Pittsburgh curb appeal, add a little bit of life back into your outdoor space, or simply become your next affordable DIY project.
Keep reading to gather some ideas for your next outdoor painting project.
4 Outdoor Painting Projects:
Your Shed:
If you would like to give your shed some more life, painting it is one way to do so. This is a project that you may need to reserve some time for since sheds are larger objects. It may also be a good idea to do this project before fall and winter arrives. In this video, Annie tackles a new challenge where she receives a mystery product from Ace to use in her home. She discovers leftover paint and decides to revitalize her backyard shed. She demonstrates the efficiency of using a paint sprayer for the shed’s exterior, highlighting its ability to halve painting time, and opts for a brush and roller for the interior due to limited ventilation. Annie emphasizes the importance of starting from the top when using a sprayer and maintaining a consistent speed to avoid drips. The transformation brightens the dark shed, making it appear larger.
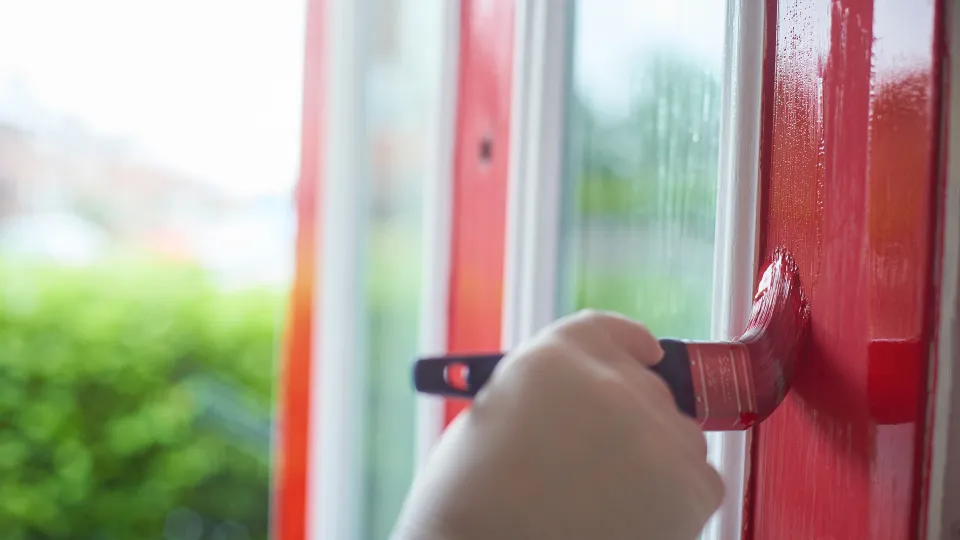
Your Front Door with Windows:
The next outdoor painting project that should be on your radar is painting your front door. Adding a pop of color to your front entrance will definitely shake things up, especially as we head into the next season. If you need help picking out the perfect color for your front entrance, stop by Johnson’s Ace Hardware’s paint studio.
As Annie explains in the video, it’s important to choose a dry, mild day for painting, avoiding direct sunlight, and keeping the door slightly open during the process. The first step involves thoroughly cleaning the door to remove any dust, lint, or dirt, followed by allowing it to dry completely. You can either remove the door or leave it hung for painting, the latter may be more convenient.
The next crucial step is taping the door, including the windows, door knobs, and deadbolts, to protect them from paint. We recommend Frog Tape for its strong adhesion, ensuring a tight seal. The painting process begins with the detailed areas around the window and any decorative panels using a synthetic angled brush. You should probably start from the top of the door and work downwards to catch any drips, applying two coats for the best finish.
After painting, carefully remove the painter’s tape while the paint is still tacky. For any paint that gets on the glass, you can clean it off with warm soapy water and a razor.
Your Exterior Trim:
If you enjoyed the last outdoor painting project, then this one will be complimentary. Another way to brighten up your front entrance is by painting the exterior trim. Depending on how extensive you would like to get with this project you can paint just the front entrance or all the exterior trim across the house.
In the video, the Annie demonstrates how to refresh the front door and window trim using high gloss enamel paint, opting for a dark color to create a striking visual impact. For a successful paint job, we advise checking the forecast and choose a day with temperatures ranging between 50 to 80 degrees Fahrenheit, ensuring there’s no rain or wind which could affect the paint’s finish. After applying the first coat, it’s recommended to wait a full 24 hours before proceeding with a second coat, allowing ample time for the paint to dry and achieve the best results.
Your Exterior Light Fixtures:
Another subtle, but effective outdoor painting project is painting your exterior light fixtures. Most times these fixtures are metal and can take a specific process, but once done can make a last impact. To gather your materials for this project, check out Johnson’s Ace Hardware metal painting supplies.
In the video, Annie uses Rust Stop primer spray paint in grey and black, emphasizing the importance of using a primer to prevent rust and corrosion on outdoor fixtures. The primer not only prepares the surface but also ensures better adhesion of the topcoat. Following the primer, a black Rust Stop spray paint is applied, suitable for both metal and wood surfaces. The technique demonstrated involves holding the spray can approximately 6-8 inches from the surface and applying the paint in a steady, sweeping motion. To achieve a smooth, even finish, we recommend applying multiple thin coats, allowing a brief waiting period of about one minute between each layer to ensure proper coverage and drying. This methodical approach ensures a professional-looking finish, extending the life and beauty of the exterior light fixtures.
End Note:
All in all, Johnson’s Ace Hardware is here to assist you in building the home of your dreams. Make sure to stop into our Norvelt location today to get started!

Recent Comments